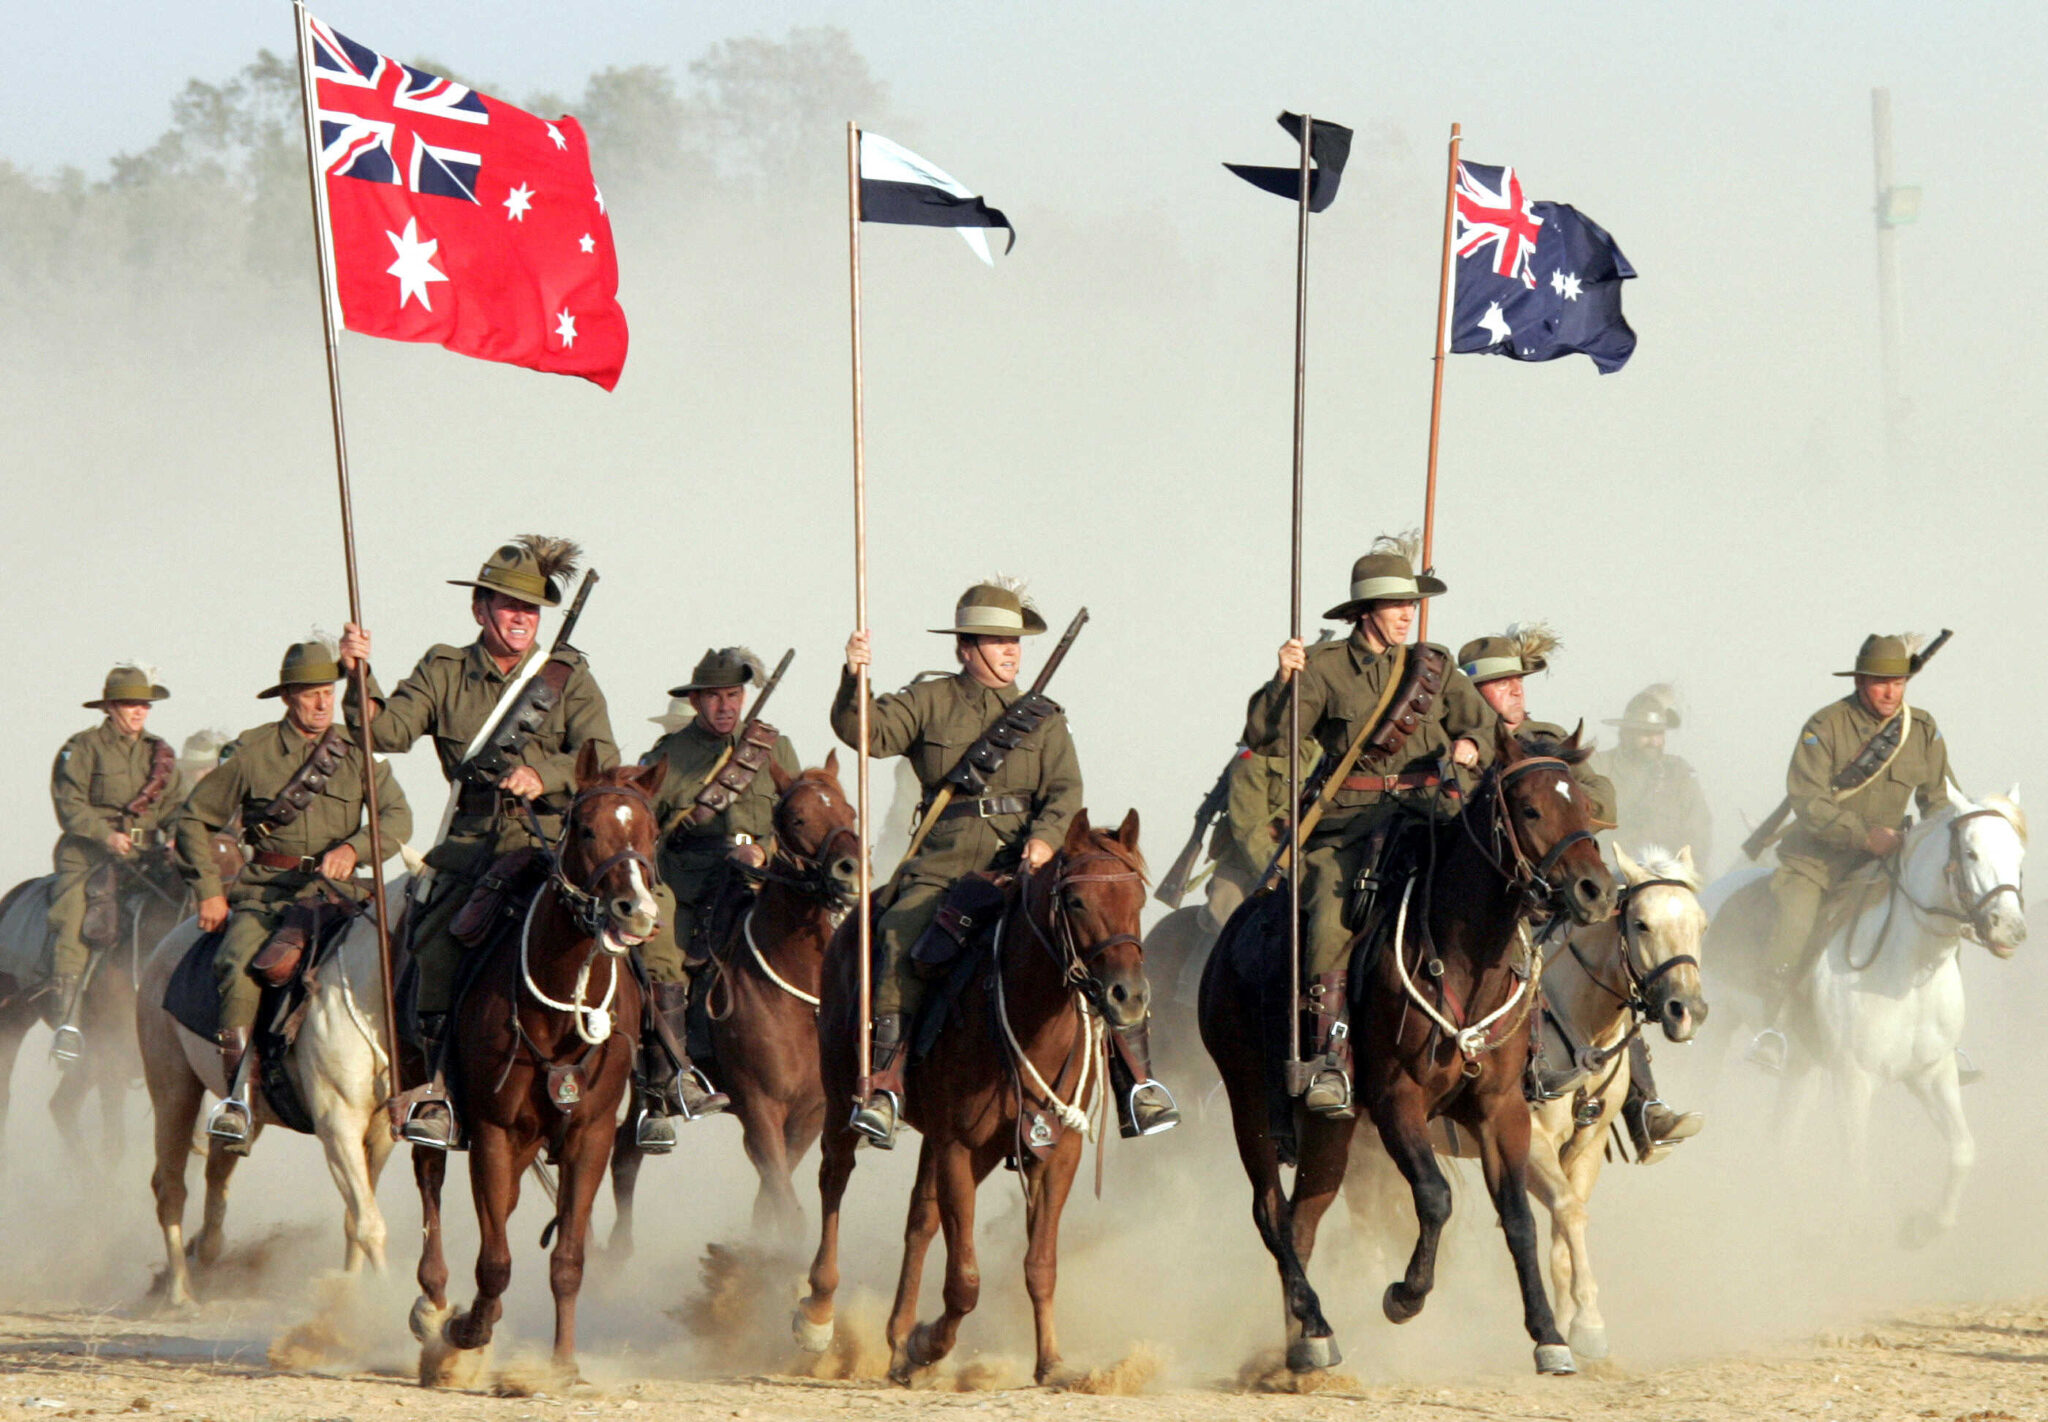
What began as the British defense of the vital Suez Canal culminated in a fierce offensive that opened up the Holy Land to Allied forces. Incredible logistics, sophisticated decoys, and a larger-than-life horseback charge all made this battle unique in the agonizing standoff characterizing most of World War I
Volatile to its very core at the outbreak of World War I, the Middle East was divided between the superpowers of western Europe and the “sick man” to the east, the Ottoman Empire. Palestine, the Arabian Peninsula, Lebanon, and Syria were all under Ottoman control. Egypt had been part of the British Empire since 1882, despite Turkey’s insistence that the country was an Ottoman province. With limited forces stationed in the Middle East, Britain’s primary objective was to defend the Suez Canal, a crucial shipping passage for the British Empire. British forces therefore withdrew from the Sinai Peninsula and regrouped on the west bank of the canal, leaving the east bank open to attack.
Sure enough, in January 1915, the Turkish and German armies launched an offensive, reaching the canal. Not satisfied with disrupting imperial shipping, they attempted a crossing, which was deflected by the British. Belatedly realizing that the Suez’s eastern defenses were also critical, British forces deployed thirty kilometers east of the canal. A second Turkish-German attack and a series of raids convinced the British that the best defense was a good offense, prompting an advance through Sinai into Palestine in order to keep the enemy a safe distance from the vital canal.
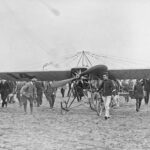
The British army took its time, though, deploying only in March 1916. The disastrous Gallipoli campaign had taken up most of Britain’s military energy in the east throughout much of 1915. But once those forces (including the Zion Mule Corps) had been evacuated and reassigned to Egypt, troops became available. Initially the British offensive included a mere three divisions, commanded by General Archibald Murray. Many of these fifty thousand soldiers were not even combat forces. The Turkish Fourth Army defending Palestine and Syria was double that size, but only some of the troops were ready for battle.
Murray advanced slowly along the coastline, laying a railroad as he went. The Sinai had to be defended against possible Turkish incursions and equipped to provide soldiers at the front with water and other supplies. A logistics base was built in El-Arish, in the northern Sinai, which could easily be reached along the coast or by sea. To secure it, the British decided to conquer Gaza – the largest city in the region – creating a line of defense north of El-Arish. In January 1917, nine months into the campaign, troops finally reached Gaza and prepared to attack.
Three Turkish divisions were arrayed along the Gaza-Beersheba line under the command of German general Kress von Kressenstein. The general expected the British to try to take over Gaza and its water supplies and then use the city as a base from which to proceed deeper into Palestine. For thousands of years, in fact, Gaza had been the southern gateway to the Holy Land. General von Kressenstein deployed his forces southwest of the city, presuming his opponents would take the convenient coastal route through Sinai to Palestine. Lacking portable water tanks, he also needed to keep his forces close to the sea for easy resupply.

General Friedrich Kress von Kressenstein | Library of Congress collection

Turkish artillery soldiers in position at Tel Shara, a defensive post in the lines stretched by the Germans and Ottomans between Gaza and Beersheba, 1917 | Library of Congress collection
Not yet a Segula subscriber?
Access our full archive online, have print issues delivered to your door, and moreFeel free to share